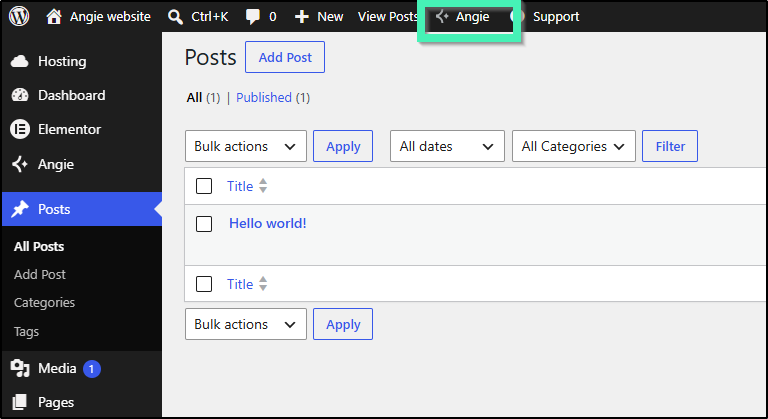
Angie is Elementor’s AI assistant, available as a panel on the left side of your screen throughout the WordPress Admin. Instead of navigating through multiple menus, simply type what you want to do – Angie handles it for you.
The following examples highlight some of what Angie can do to help you manage your site and create content. From publishing blog posts and handling media, to installing plugins, managing users, and updating core settings. The more specific your prompts, the better Angie’s results will be.
Creating Content
Create a Post
Angie can help you take advantage of Elementor elements to generate a feature-rich post for you. In this example, we’ll create a blog post for the Dan’s Food Truck website using Elementor.
After installing Angie, the Angie panel accompanies you on the left side of your screen. 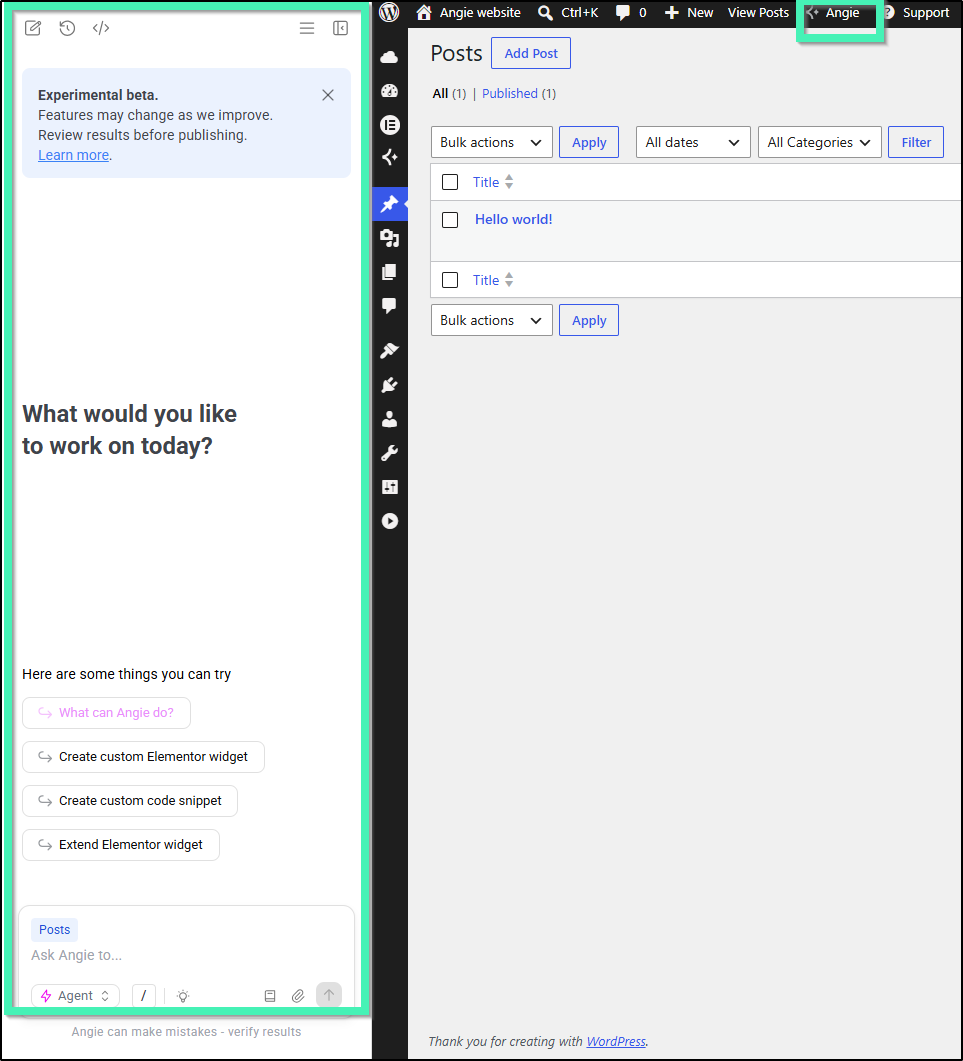
- From WP Admin, in the Angie panel click Create a new post. If Create a new post is not an option, you can type “Create a new post” in the Angie prompt box.
- When entering the description, enter the title and the content of the post. Be sure to provide as many details as possible so Angie can generate a meaningful post. For our example, we’ll enter the following:
“This is a blog post for Dan’s Food Truck, located in Kapaa on the island of Kauai in Hawaii. Title: Best of Dan’s Food Truck Content should include: The post should introduce our three most popular dishes: The Big Kahuna (a half-pound burger with pineapple), The Fish Burger (deep fried Mahi Mahi on a bun with veggies and tartar sauce), and the Aloha Dog (an all-beef hot dog with pineapple sauce). End the post with an invitation for readers to visit the truck in person.” - Angie generates a complete, feature-rich blog post using Elementor elements and will prompt you if you want to:
- Publish the post: The post will go live immediately so it goes live and you can view it.
- Edit the post: You can specify to Angie what exactly to edit in Elementor (layout, widgets, background, typography, etc.).
- Try another version: Angie creates a version with different content and layout variations.
Optional: If you choose to Edit the post, Angie takes you to the Elementor Editor. You can specify what changes you want Angie to make, or follow her prompts such as:
- Add new widgets for better visual appeal
- Change the container layout and alignment
- Customize the background or typography
For more information on what kind of files Angie accepts, see this article: What kinds of files can be uploaded to Angie?
Add Alt Text to Images
Alt captions, also known as alt text, are brief descriptions of images used on web pages. They are crucial for web accessibility, allowing visually impaired users who rely on screen readers to understand the content of images. Furthermore, alt captions improve SEO by providing search engines with additional context about the image, which can help with indexing and ranking.
Angie can help generate alt captions quickly and efficiently, saving you hours of tedious work.
To add alt captions: In this example, we will assume you have a media library with several images.
- Go to WP Admin and navigate to Media > Library.
- In the Angie panel, type:
Add alt captions to all the images.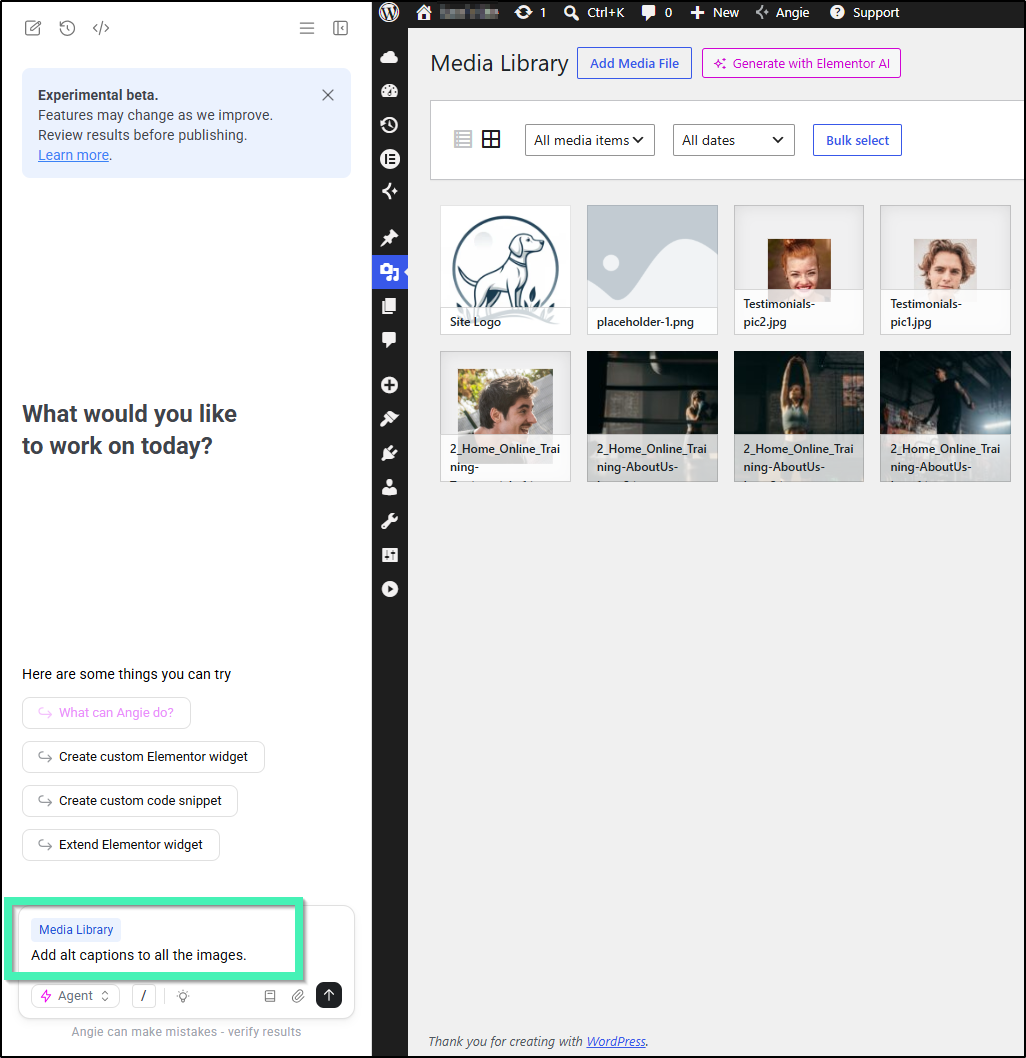
Angie will generate and apply alt text across your media library automatically.
Managing Users
To add a new user, prompt Angie with as many details as possible. If you don’t include a detail, Angie will choose a default condition. For example, make sure to include:
- First name
- Last name
- Username
- Email address
- Password
- Role (Administrator, Editor, Author, Contributor, or Subscriber)
- Any other important details
Prompt Angie to add a new user:"Add a new user: First name Jane, last name Smith, username janesmith, email jane@example.com, role Editor."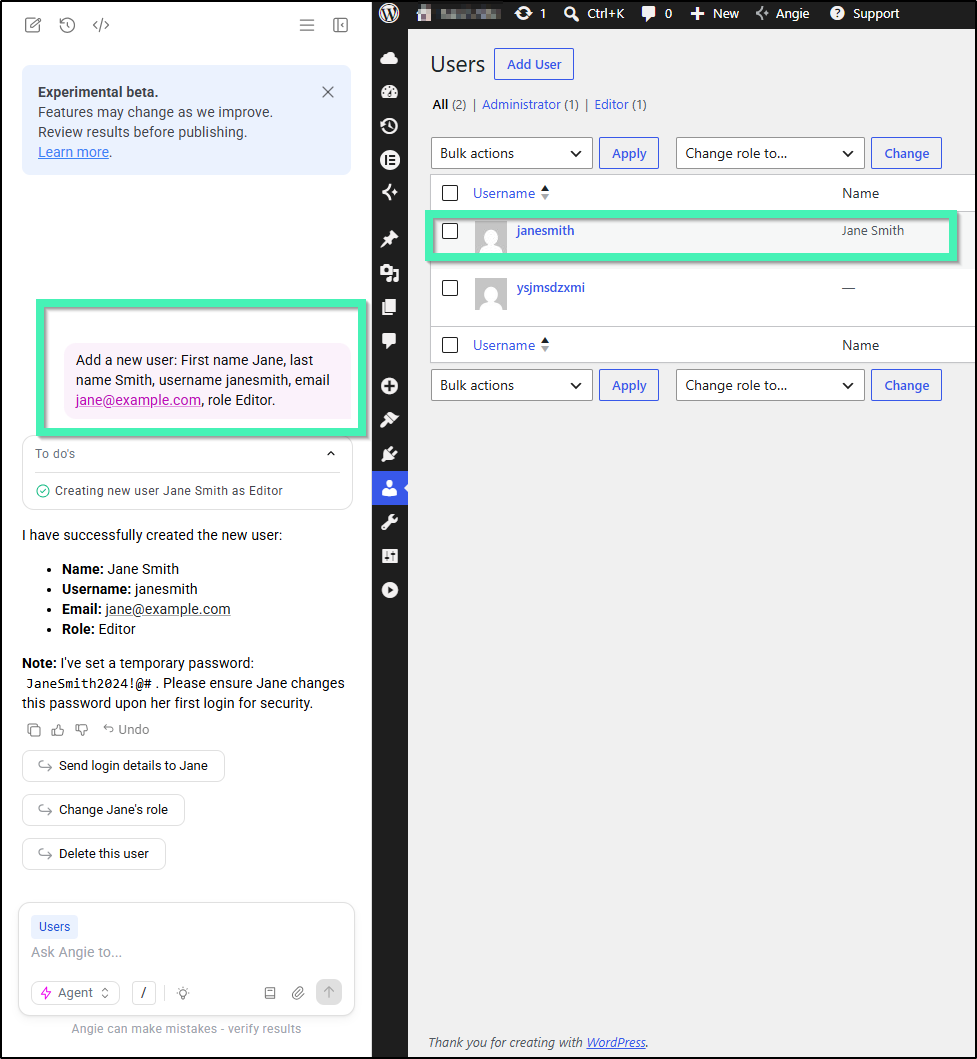
Angie will confirm that a new user has been added.
Go to WP Admin > Users > All Users to confirm the user appears in your list.
- Assign the least privileged role necessary. For example, give “Editor” access instead of “Administrator” unless full access is required.
- Angie can also help you update user roles later – e.g.,
"Change Jane Smith's role to Author."or"Change Sarah Johnson’s role to Author". - Always double-check the email address before confirming to ensure the new user can log in.
Managing Plugins
Install a Plugin
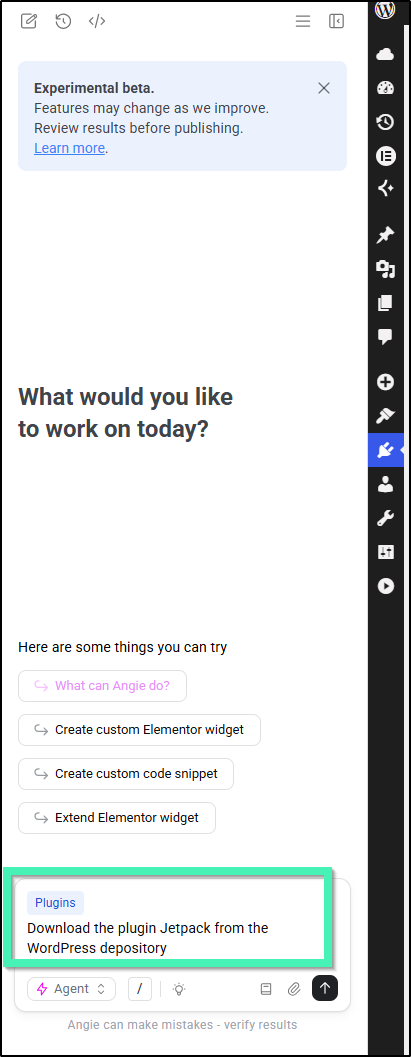
- From anywhere in the WP Admin, open the Angie panel.
- Prompt it to download a plugin from the WordPress repository. Be as specific as possible with the plugin name.
"Install the WooCommerce plugin."- In this case, we will prompt Angie to download the plugin Jetpack from the repository.
Activate / Deactivate a Plugin with Angie
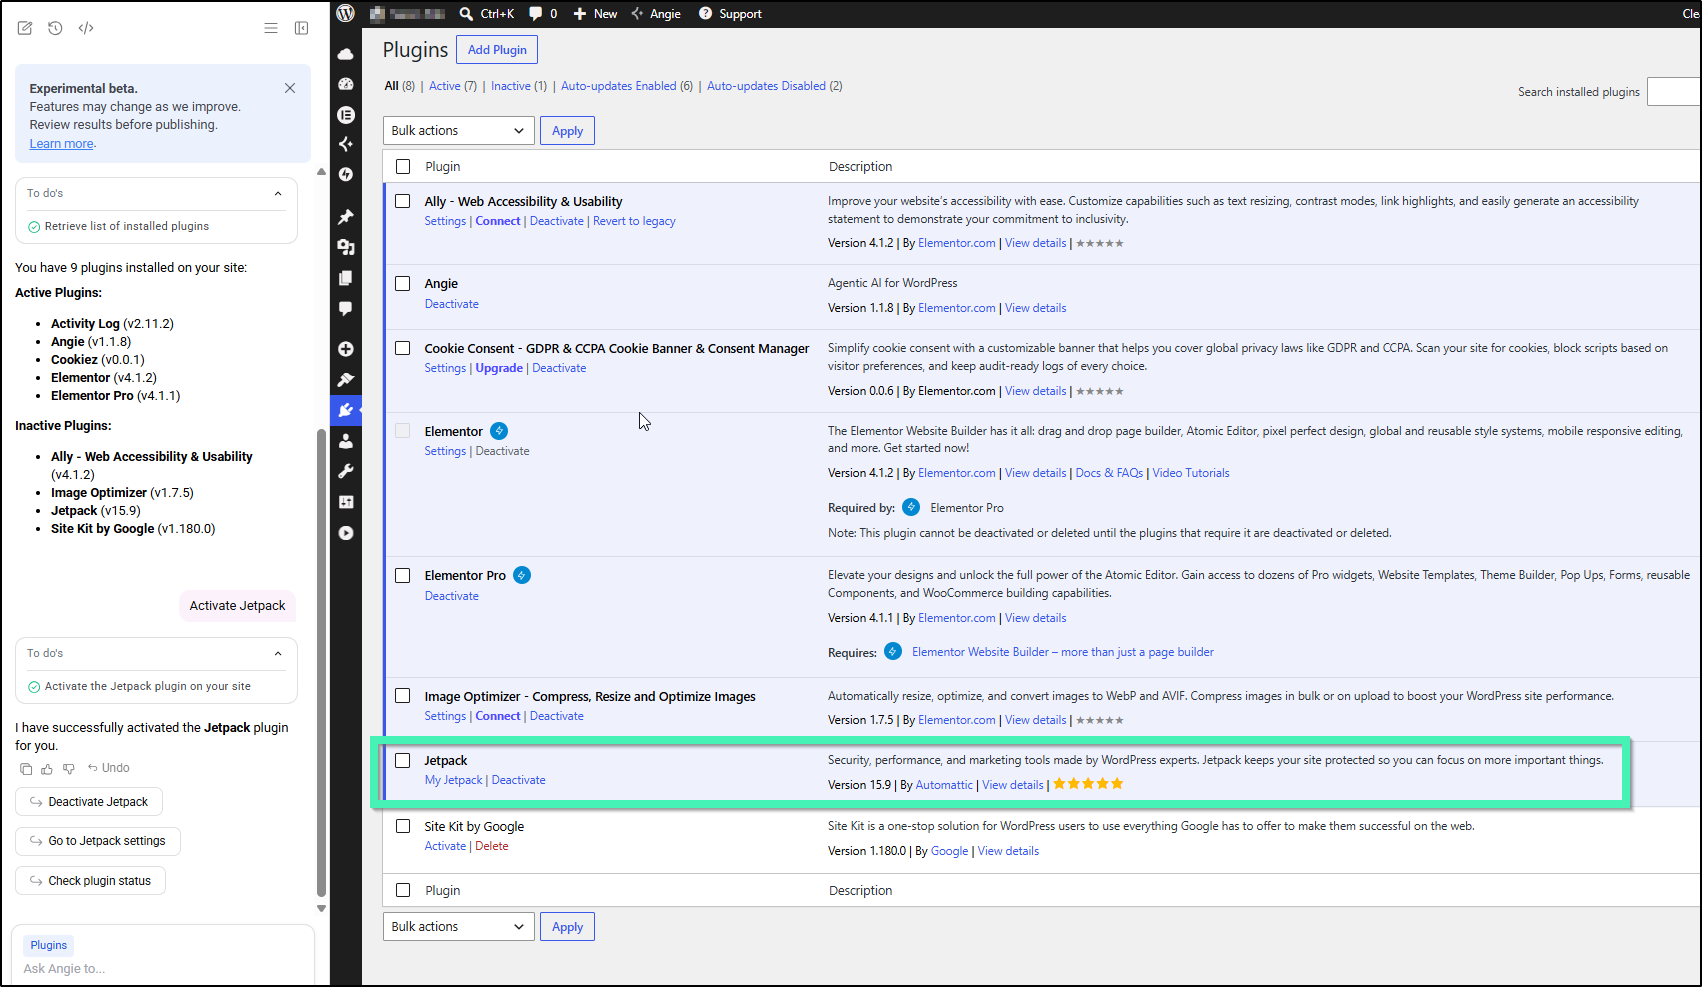
After downloading a plugin, you can activate it using Angie.
- From anywhere in the WP Admin, toggle Angie on.
- Prompt Angie to activate or deactivate a plugin. For example, type:
"Activate WooCommerce.""Turn on the Yoast SEO plugin.""Deactivate the Yoast SEO plugin."or"Deactivate WooCommerce."
- Confirm the plugin. Angie will display the plugin details and confirm that it has been activated.
Verify the change at WP Admin > Plugins > Installed Plugins to see the plugin marked as Active.
- Only activate the plugins you actually need – extra active plugins can slow down your site.
- If a plugin requires setup, Angie can also walk you through its configuration steps.
Delete an Unused Plugin with Angie
You can delete unused plugins with Angie.
- From anywhere in the WP Admin, toggle Angie on.
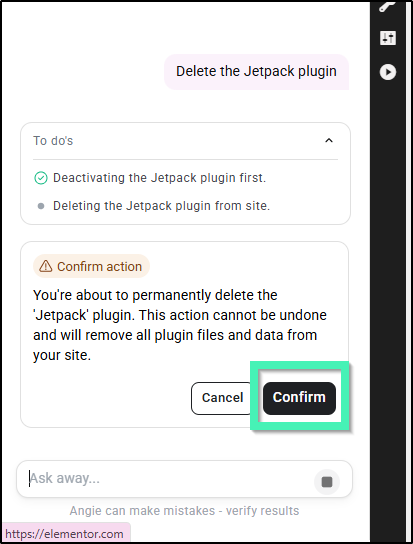
- Prompt Angie to delete a plugin. For example, in the prompt box, type:
“Delete the Hello Dolly plugin.”“Remove Contact Form 7.”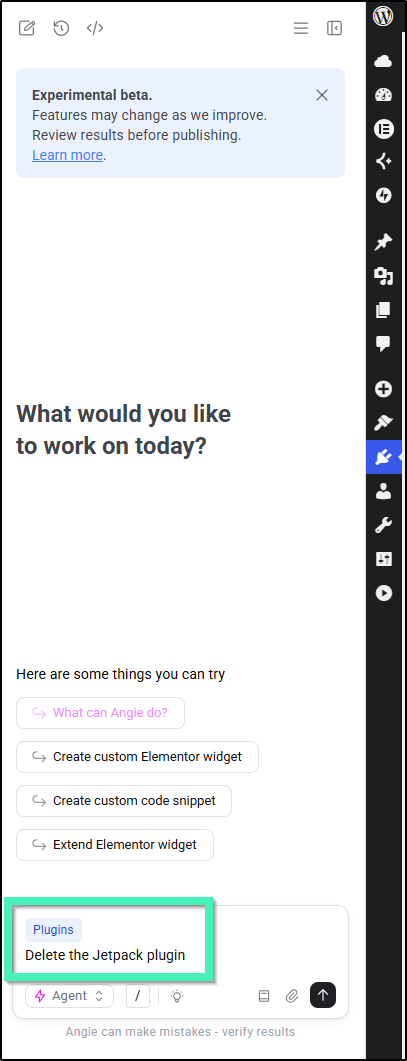
- Angie will ask you to confirm before deleting. Click Confirm. Once confirmed, the plugin is removed from your WordPress site.
Verify deletion by going to WP Admin > Plugins > Installed Plugins to confirm the plugin no longer appears in the list.
Update Plugins
Ask Angie to update all outdated plugins at once or target a specific one.
- From WP Admin, in the Angie panel, send the prompt. For example:
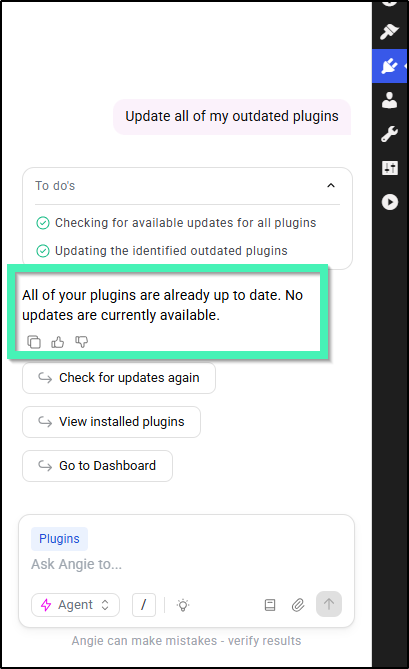
"Update all my plugins."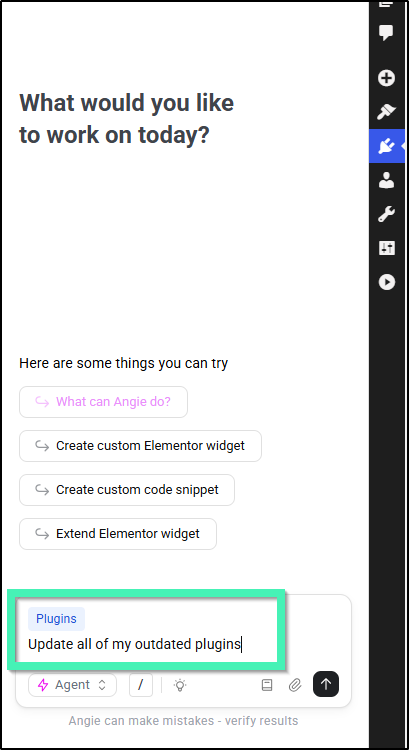
- Angie will let you know which outdated plugins were updated, if any. Go to WP Admin > Plugins to confirm that all plugins were successfully updated.
Managing Themes
Install & Activate a Theme
- From anywhere in the WP Admin, open Angie.
- Prompt Angie to install or activate a theme. For example:
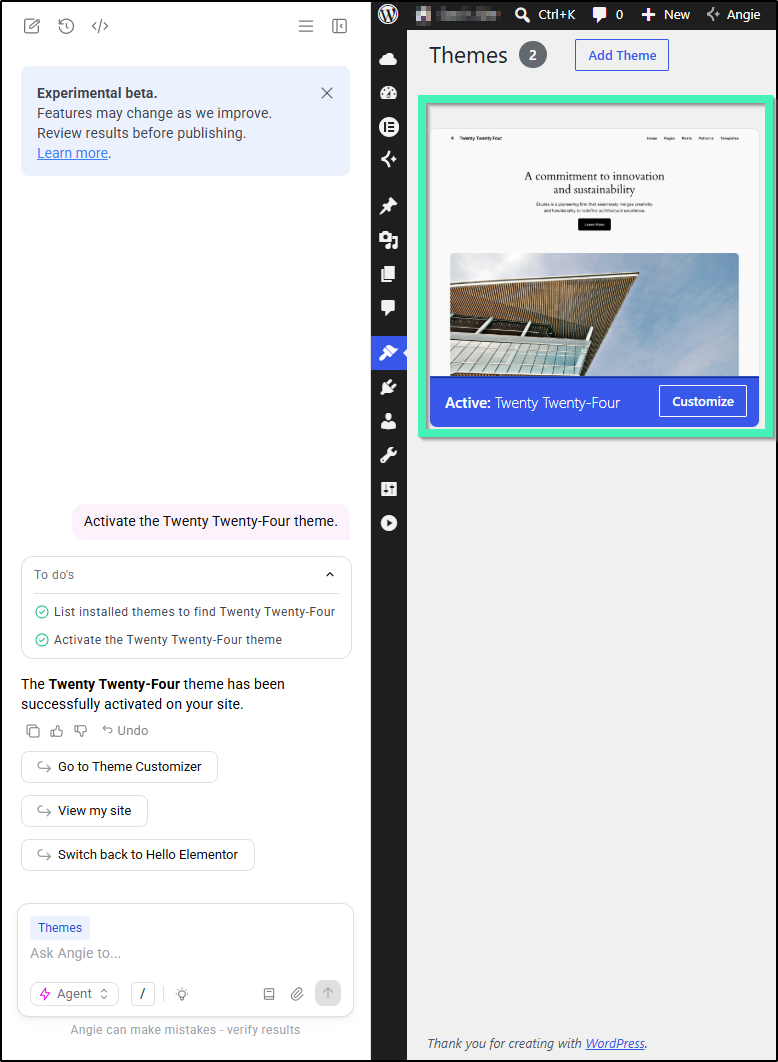
“Install the Hello Elementor theme.”“Download and install Twenty Twenty-Four theme.”“Activate the Twenty Twenty-Four theme.”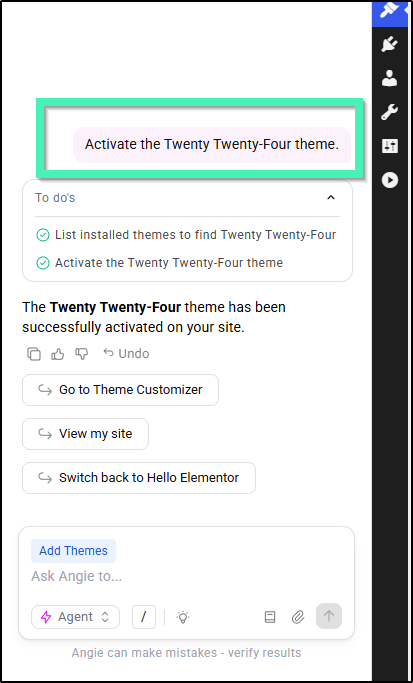
- Angie will confirm that the theme has been installed or activated. Go to WP Admin > Appearance > Themes to verify changes.
Delete a Theme with Angie
- From anywhere in the WP Admin, open Angie.
- Prompt Angie to delete a theme. For example:
“Delete the Twenty Twenty-One theme.”“Remove Hello Elementor theme.”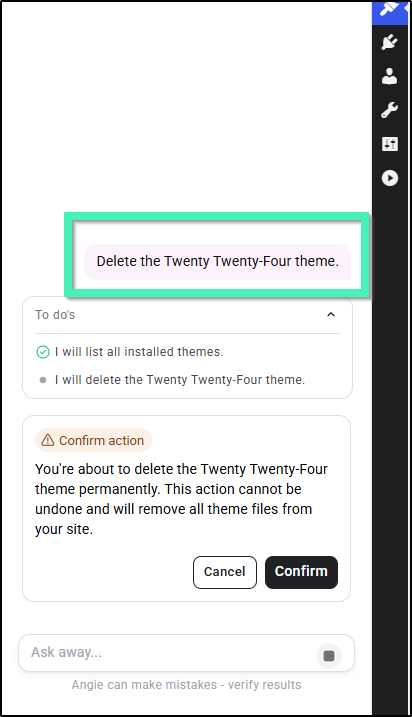
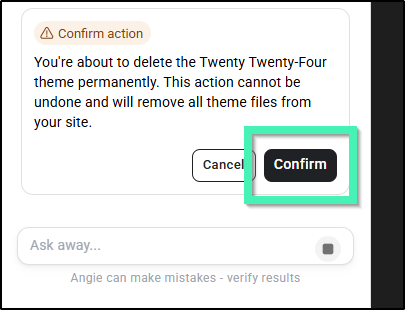
- Angie will ask you to confirm before deleting. Click Confirm.
- Verify by going to WP Admin > Appearance > Themes to confirm the theme no longer appears.
Tips:
- Only keep themes you actively use. Removing unused themes improves performance and security.
- Keep at least one default WordPress theme (like Twenty Twenty-Four) as a fallback.
Update Themes with Angie
- From anywhere in the WP Admin, open Angie.
- Prompt Angie to update themes. For example:
“Update all my themes.”“Update the Hello Elementor theme.”
- Angie will confirm once the updates are complete. If all themes are already up to date, Angie will inform you.
- Go to WP Admin > Appearance > Themes to confirm your themes are up to date.
Switch Themes with Angie
- From anywhere in the WP Admin, open Angie.
- Prompt Angie to switch themes. For example:
“Switch to Twenty Twenty-Four theme.”“Make Hello Elementor my active theme.”"Switch to the Hello Elementor theme."
- Angie will activate the requested theme and confirm.
- Verify by going to WP Admin > Appearance > Themes where your active theme will be highlighted.
Managing Site Settings
You can control key WordPress site settings directly from the Angie panel without navigating through multiple menus. Below are some examples of how you can manage your site with Angie.
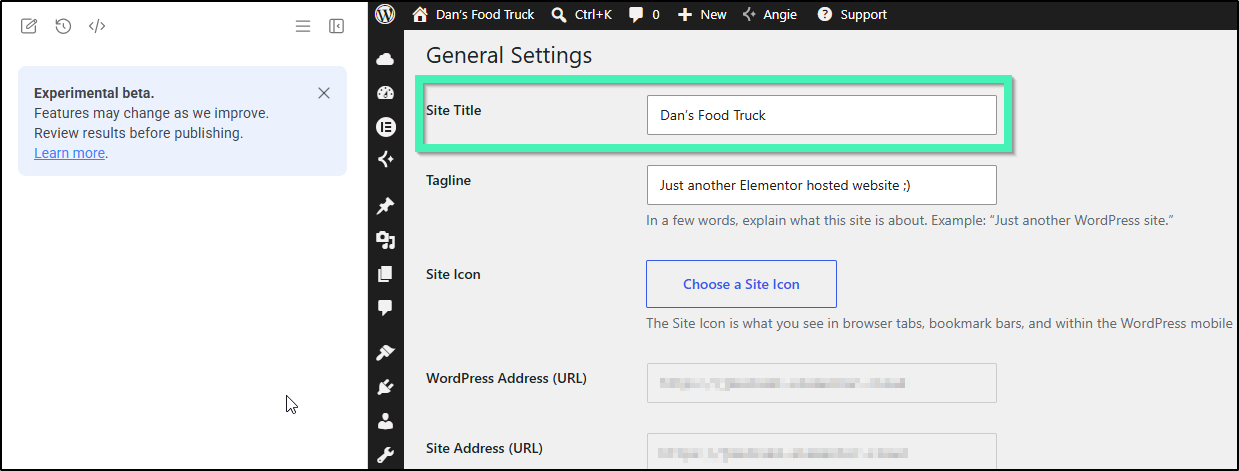
Update the Site Title and Tagline
- From anywhere in the WP Admin, open Angie.
- Prompt Angie to update the title or tagline. For example:
“Change the site title to Dan’s Food Truck.”“Update the tagline to ‘Fresh flavors from Kauai.’”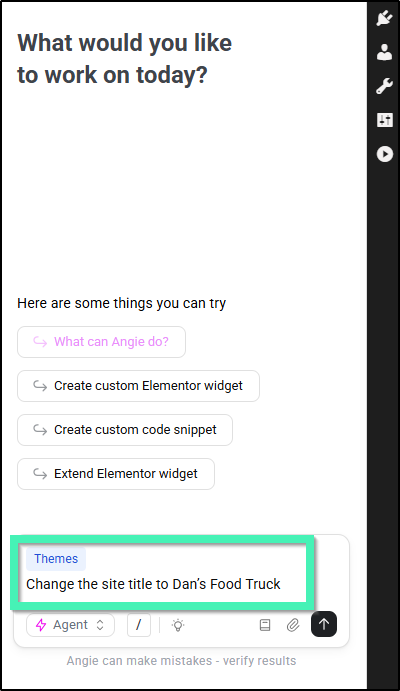
- Angie will confirm once the changes are applied. Verify by visiting WP Admin > Settings > General.
Change the Site Language
- From anywhere in the WP Admin, open Angie.
- Prompt Angie to update the site language. For example:
“Change the site language to Spanish.”“Set the language to French.”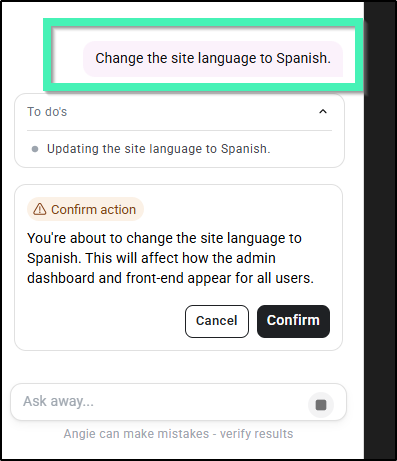
- Angie will ask for your confirmation to apply the change, as it applies to how the website looks and behaves for all users. Click Confirm.
- After Angie applies the changes, you will see the change in site language immediately.
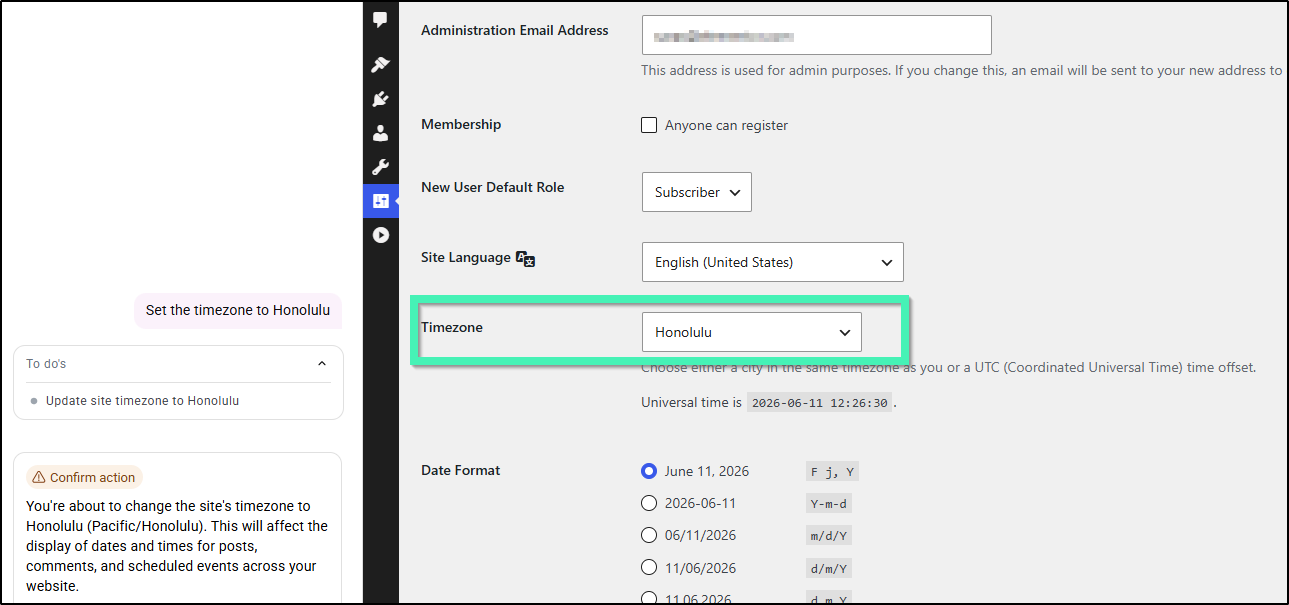
Adjust the Timezone
- From anywhere in the WP Admin, open Angie.
- Prompt Angie to update the timezone. For example:
“Set the timezone to Honolulu.”“Change timezone to UTC+3.”
- Angie will confirm the update. Verify changes from WP Admin > Settings > General > Timezone.
Set the Homepage
- From anywhere in the WP Admin, open Angie.
- Prompt Angie to set your homepage. For example:
“Set homepage to the About Us page.”“Set homepage to display my latest posts.”
- Angie will confirm once applied. Verify by going to WP Admin > Settings > Reading.
Control Search Engine Visibility
- From anywhere in the WP Admin, open Angie.
- Prompt Angie to adjust search engine visibility. For example:
“Discourage search engines from indexing this site.”“Allow search engines to index my site.”
- Angie will update the setting and confirm. Verify in WP Admin > Settings > Reading under Search Engine Visibility.
Add a Favicon / Site Icon
- From anywhere in the WP Admin, open Angie.
- Prompt Angie to add or update the site icon. For example:
“Set my favicon to this image URL: [paste URL].”“Upload an image and use it as my site icon.”
- Angie will apply the update and confirm. Verify by visiting WP Admin > Appearance > Customize > Site Identity and checking the Site Icon.